

Why dehydrate your own dog treats?
Dried dog treats made from real meat are expensive and difficult to justify when cheaper, mass-produced, processed treats are available on the same store shelf. But dehydrators are cheap to buy and even cheaper to run and it's very simple to learn how to dry treats for dogs! I'd been wanting a dehydrator, but I couldn't find any online guides for making dog treats - only human jerky recipes. So, I bought a dehydrator, researched the process, and created the internet's first guide to dehydrating dog treats. I’m thrilled with this dehydrator and recommend it to any dog owner who enjoys making homemade dog treats. Jerky treats are ideal because they’re clean, dry, and perfect for settling my dogs when we get home from a walk. Ensure your dehydrator can dry meat, as some models are designed only for fruit and don’t reach high enough temperatures.
IMPORTANT READING
While researching how to make jerky, I found conflicting advice online. Some recipes (for human consumption) suggest placing raw meat, including chicken, directly in the dehydrator, while others recommend precooking the meat to kill pathogens. Although dogs rarely get sick from bacteria like Salmonella due to their short digestive tracts, which often neutralise harmful bacteria, caution may still be warranted. Most dehydrators reach a maximum temperature of around 70°C (160°F), which is insufficient to kill pathogens like Salmonella and E. coli. To ensure safety, I always bake the dehydrated meat in the oven at 150°C (300°F) for 10 minutes to eliminate any remaining pathogens. Oregon state University did research on how to make homemade jerky safe (for humans) and they say that:
“Jerky can be considered 'done' and safe to eat only when it has been heated sufficiently to destroy any pathogens present and is dry enough to be shelf-stable. Shelf-stable means the the jerky can be stored at room temperature and will not support microbial growth."
Oregon state University’s method for destroying pathogens:
“Post-drying heating. Placing dried meat strips on a cookie sheet in an oven preheated to 257ºF [126ºC] and heating the strips for 10 minutes effectively eliminates pathogens. This method produces the most traditional jerky.”
So after drying any raw meat I place the jerky in the oven for 10 minutes just to be sure. It doesn’t change the jerky in any way and gives me peace of mind. Many recipes (mainly for human consumption) use salt or vinegar soak to deal with pathogens in raw meat but both can cause stomach problems in dogs and I want to keep these treats pure and simple.
TIPS
- Always wash your hands before you start.
- Food with a lower fat content lasts longer, as fat cannot be dried and will spoil the food faster. So if you're planning to store the treats long-term, then trim any fat off the meat before you dry it out.
- Drying times vary a lot. Temperature, thickness of food, amount on the trays, and different machines all affect the timing. Your user manual will help, and you’ll soon learn when it’s done by texture, appearance, and general experience.
- I store dehydrated jerky in the freezer (no defrosting required), but you can learn more about storing jerky at WikiHow.
- You can cut meat as thin or thick as you like, but the thicker it is, the longer it takes to dry.
- A very sharp knife makes slicing easier.
- You’ll be surprised how much food shrinks when dehydrated. Just remember that it’s concentrated food and don’t give too much at once – it’s a treat!
- Getting raw foods is easier online for most people - give Rawdirect.co.uk and Iwantpetfoods.com a try.
HOW TO STORE
Store treats in airtight containers in a cool, dry, dark place to keep them fresh for 3-6 months. For maximum safety, I recommend freezing them, which can extend shelf life to 1-2 years – they thaw super quickly because of the low moisture. Check for mould, off smells, or slimy textures before feeding, especially with fatty meats like salmon or pork.

I am using the Andrew James dehydrator for all these recipes - cheap to buy, cheap to run. Click image to find it on Amazon!

Equipment
- 1 Food dehydrator (with trays)
Ingredients
- Pig Ears As many as will fit on your trays
Instructions
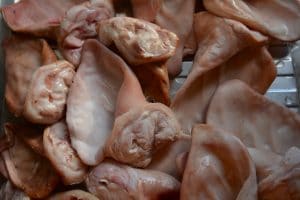
- All these pig ears cost just £5! I cut off the fleshy section that joined the ear to the head; it’s way to thick.
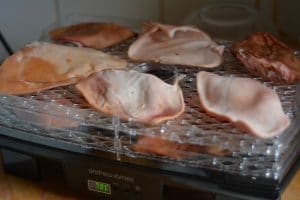
- Place on a tray in the dehydrator and dry for 16-24 hours. I filled 4 racks! Once dried, I place them in the oven at 257ºF [126ºC] for 10 mins.
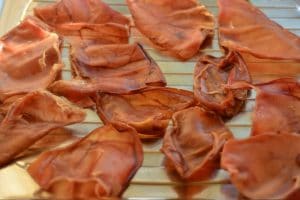
- And they are done. Identical to what you buy in the shops. They have cost around 30p each, plus the cut-offs have given me several days' worth of dog food. Great value!
- Flo adores her homemade pig ears!

Notes

Equipment
- Dehydrator
Ingredients
- Raw chicken feet As many as your dehydrator can hold
Instructions
- First thing I’ll do is give the feet a wee wash
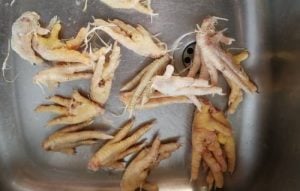
- The feet have nails, and they are quite sharp, so I don’t want the dogs eating these when they become dry and brittle, so I cut them off.
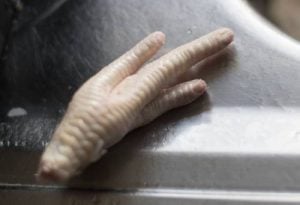
- 2 kilos will give me around 60+ feet which will fill 4 racks
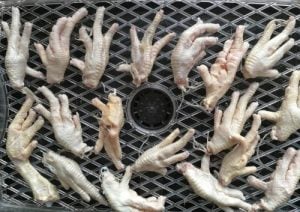
- I’ll be drying these for 96 hours minimum and up to 120 hours, but the timer only goes up to 48 hours, so I’ll be resetting the dehydrator 3 times. They are done when there is no flex in the feet, especially the skin and the padded parts. I want them dry and hard.
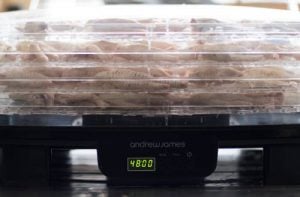
- Nearly 120 hours later, and they’re done! No need to place in the oven afterwards.
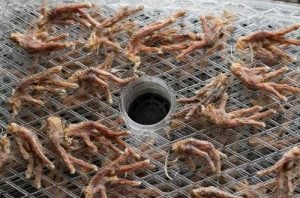
- They look great! I’m really happy with how this went!
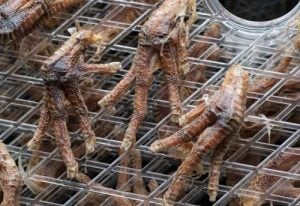
- Really tasty and all the dogs loved them.

Notes

Equipment
- Dehydrator
Ingredients
- Raw pig skin Can be bought cheaply at supermarkets like Morrisons
Instructions
- Place the skin on a dehydrator tray. Remember to cut to the size you want before you dry. Dry at 70ºC for 24 hours.
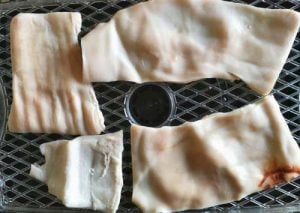
- 24 hours later, and it’s dry and very tough. There may be a little grease on the inside, so lay the dried skin on kitchen towel to soak up any residue.
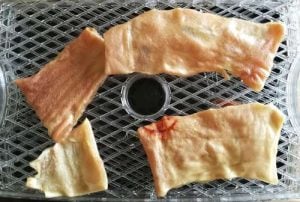
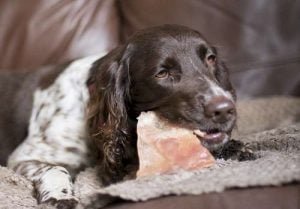
- One of Flo’s favourite treats. This will keep her busy for a good 20 minutes.
Notes

Equipment
- Dehydrator
Ingredients
- Raw tripe white or green (green is very smelly)
Instructions
- Half a kilo of white tripe I bought from the butchers.
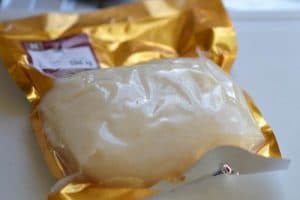
- Wash tripe and then gently pat dry.
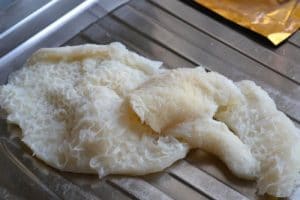
- Cut into 1 inch strips and place on tray.
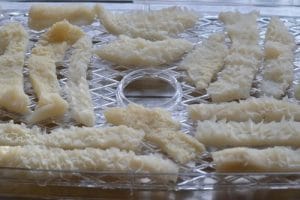
- I’ll be dehydrating for around 14 hours at 70ºC (158ºf) followed by a quick 10 minute heat in oven.
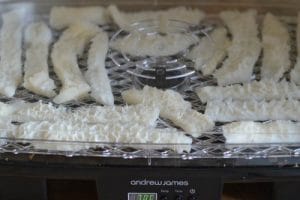
- The tripe is done! I’ll bung it in the freezer for when I need it.

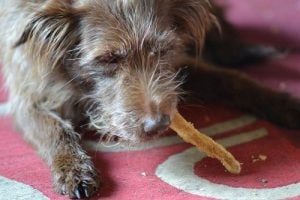
- Ruby loves her homemade tripe jerky!
Notes

Equipment
- Dehydrator
Ingredients
- Lean beef Top round, flank steak, or sirloin are excellent choices
Instructions
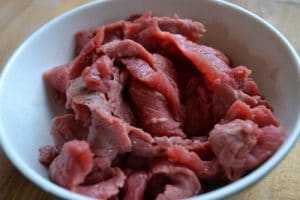
- Freeze for an hour and then slice your lean beef 1/8th of an inch thick.
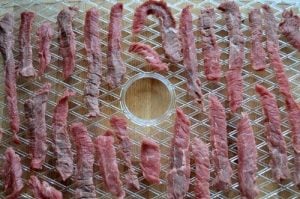
- Evenly lay out beef strips on dehydrator tray and make sure no strips are touching each other. Check user instructions for cooking meat. For my dehydrator I’m advised to use the highest temp of 70ºc (158ºf). I will dry this batch for about 7-8 hours I’ll know it’s ready if I bend it and it cracks without breaking.
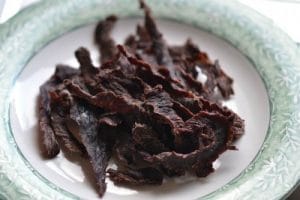
- After 8 hours drying and 10 minutes in the oven they are done! Freeze and reward the dog when necessary.
Notes

Equipment
- Dehydrator
Ingredients
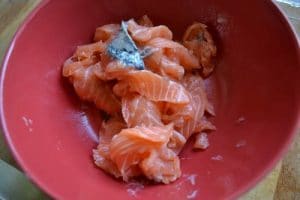
- Salmon fillet Skinless and boneless - fresh or frozen
Instructions
- Slice the salmon into thick strips. Slicing with the grain will make a chewier jerky, while slicing against the grain will make it less chewy
- Place salmon on tray while making sure they are evenly spread and not touching. Check user guide for drying instructions. These will be dried at 70ºC (158ºf) for 8-10 hours
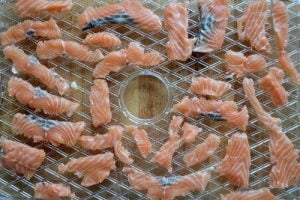
- The jerky is ready when it is dry to the touch and bends without breaking.


Equipment
- Dehydrator
Ingredients
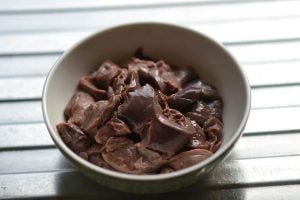
- Fresh liver Beef, lamb, pork or chicken; any type will work
Instructions
- Wash, pat dry and cut liver into thin strips
- Lay the liver strips in a single layer on trays, ensuring they are not overlapping. Dry the liver at 70°C (160°F) until dry, crisp, and brittle. The drying time will vary depending on the thickness of the strips
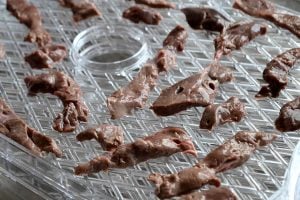
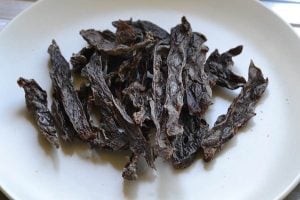
- The liver is ready when it is dry, dark, and snaps cleanly. It should have no moisture left inside

Equipment
- Dehydrator
Ingredients
- Boneless sea bass fillets Or other low-fat white fish
Instructions
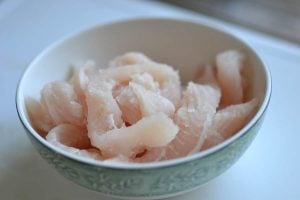
- Place fish in the freezer for 1 hour to firm then slice into strips.
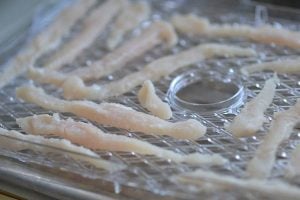
- Place fish strips on a tray and dehydrate. These took 9 hours to dry then I put them in the oven for 10 mins.
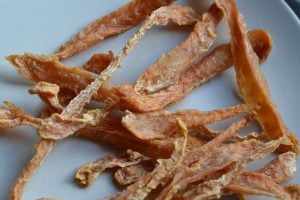
- Sea bass fish jerky dog treats done! Delicious!
Notes

Equipment
- Dehydrator
Ingredients
- Boneless, skinless chicken breast
Instructions
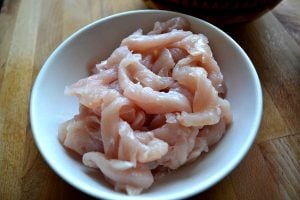
- Wash hands, wash the chicken breast, pat dry and cut into thin strips of similar width.
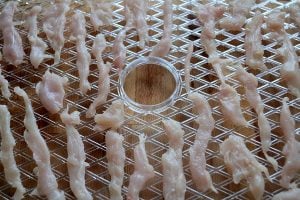
- Place chicken strips evenly and without touching on a dehydrator tray. After around 8-10 hours they are dry and placed in the oven for 10 minutes at 150ºC (300ºf) to make sure it’s completely safe and free from any bacteria.
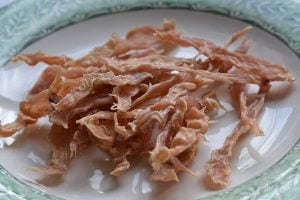
- Chicken jerky dog treats done! Place in freezer for when you need them. No defrost required.

Equipment
- Dehydrator
Ingredients
- Lean rabbit meat
Instructions
- Lovely fresh rabbit! I’ll bring it to the boil and then simmer for 2 hours.
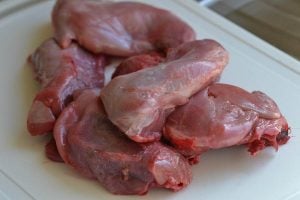
- Once cooled I take all the meat of the bone!
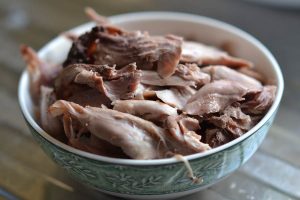
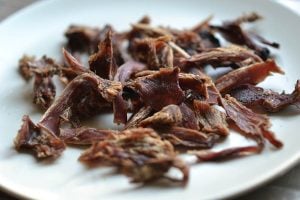
- 6-8 hours in the dehydrator and it’s done!

Equipment
- Dehydrator
Ingredients
- Heart eg Ox, pig or lamb
Instructions
- Wash the blood out of the heart and slice into strips of similar thickness
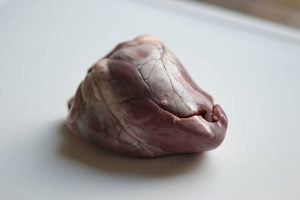
- Trim off any fat, pat dry and place on dehydrator tray. I’ll be dehydrating these for around 12 hours. (Time varies on thickness of strips) followed by 10 mins in the oven.
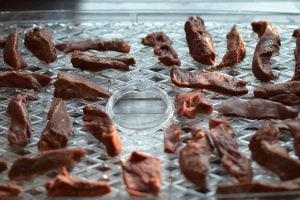
- The jerky is ready when it is dry to the touch and bends without breaking. It should not feel moist or raw in the center

Notes

Equipment
- Dehydrator
Ingredients
- Fresh kidney Beef, lamb, or pork; any type will work
Instructions
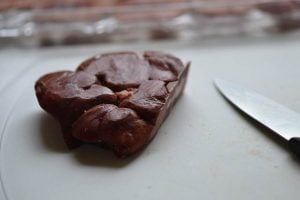
- I freeze the kidney first so I can cut very thin slices. Trim away any visible fat to aid storage life
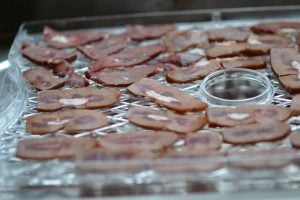
- Lay the kidney strips in a single layer on your dehydrator trays, ensuring they are not overlapping. I’ll dehydrate these for 12 hours or until it is completely dry
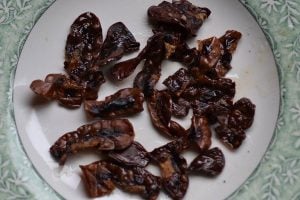
- Kidney crisps done! A real doggy favourite!
Notes

Equipment
- Dehydrator
Ingredients
- Pig Snout
Instructions
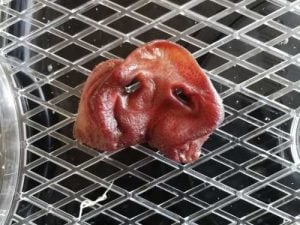
- One pig snout placed on dehydrator. I’ll let it dry for 24 hours at 70ºC. It’s just pure delicious meat!
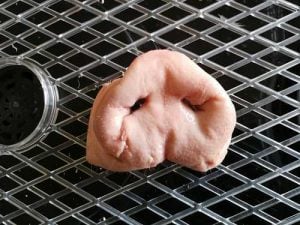
- 24 hours later and its hard and ready to give to dog.
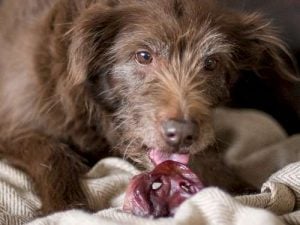
- Ruby loves her dried pig snout!
Notes

Equipment
- Dehydrator
Ingredients
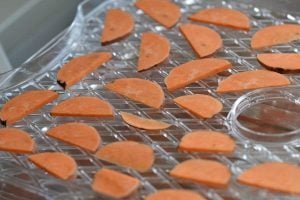
- Apples, bananas or sweet potato Any dog safe fruit and veg you know your dog enjoys
Instructions
- Slice your fruit into similarly thick slices
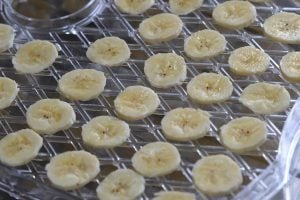
- Dry for around 8 hours or until dry and leathery
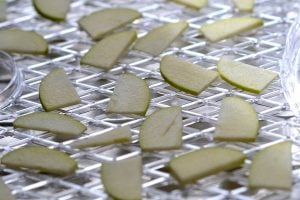
- If using sweet potato blanch first
Have questions? Things not working out as expected or need some advice? Then please use the comment section below.
This is the first and original dog treat recipe using a dehydrator that was published on the internet and inspired many other websites to copy it, but they cut out all the important info. This is also the second most popular homemade dog treat recipe behind my recipe for liver cake for dogs that I have on my site.
I started making and posting dog treat recipes shortly after I began dog walking. If you've ever considered becoming a dog walker I have a how-to guide you can read to help you start.
If you live locally and need a Dargavel Village, Erskine or Bishopton Dog Walker, please enquire about your pet care needs.


Hi! I’ve just found your post. It is very great. But I have some question. Some types of Cartilage like trachea, cow’s ears etc. If I bake at 126 deg C after dehydrated, will they be cooked and harm my pup’s stomach? Please kindly advise.
You only put in oven for 10 mins, it is only as a precaution to make sure all pathogens are killed. This is really more for human consumption than for dogs. A quick cook wont change anything.
Hi
Ive started a small business selling 100% natural dehydrated pet treats. I had them shelf life tested at a laboratory which determined they would last 12 weeks in a cool dry place. Is it possible to freeze them after cooking and if so will they still have a shelf life of 12 weeks after removing from the freezer.
Jan
In a freezer they will last pretty much forever since they are to be eaten by dogs
Hi! Have you tried dehydrating a beef trachea? What sort of preservative (except salt of course) could we use to make it last longer?
No I’ve not yet, but maybe others on here have. The longest way to preserve is freezing.
Good day, my meat sticks to the wire mesh. How can I avoid meat and fruits stick to the mesh wire? Also when I cut the frozen meat, do I have to wait for it to defrost before putting it into the dehydrator? Thank you.
Just turn them over a bit regular to help stop them sticking. Nah, you dont have to wait to defrost, just stick on.
I found this too. I bought a roll of food grade silicone mat (it’s perforated all over so the air still travels through) and cut to size for each of my trays. It’s extra to wash, but it is non-stick 🙂
I just found this link this morning and am very happy for such useful and sound information. Just to be extra sure, after 120 hours or so of dehydrating the chicken feet, they will be safe and do not need to be put in the oven at 275F for 10 minutes? Also do you rinse the feet in just cool water or some type of vinegar rinse as well? And am I able to sprinkle a little turmeric powder on the feet before dehydrating? Thank you.
Well, I washed mine and recommend it cause they were probably just lying around at some point. Just make sure they are dry when they are cooked. 120 hours depending on your dehydrator. They are great, really worth the effort.
Hi! I was wondering if you know how to convert the weights/quantity of dehydrated meats to incorporate into a raw diet?
If you can remember what the weight was before you dried it then use that as your measurement. Of course after being dried it will be lighter cause there is no water but the macros will stay the same, eg, same amount of protein, fat etc.
Hello!
I have just bought my first dehydrator to make my puppies food and snacks for myself. I want to feed my pup mostly by hand throughout the day, but also want to feed a raw diet so thought this would be a great way to do that. I’ve been looking for a blog like this for days, thank you!!
I have a load of chicken thighs in the freezer, in your opinion are they too fatty to use? Shall I use breast instead?
Looking forward to trying these out!
Thank you again, brilliant blog!
Thanks Shona,
Well if you take the skin and trim the fat of the thighs they should be just fine.
Could I ask why the dehydrated treats have to go in the freezer to be stored?
Sorry I have seen this has been answered before 🙂
just for long term storage. we are mot using preservatives like salt as dogs dont do salt to well. It is preservative free. Should last a while though in fridge. I never need to freeze, nothing ever lasts long enough
Hi! Have you tried dehydrating frog legs? What temperature and no of hours do you recommend? Thanks!!
lol, no i haven’t. Well I’d guess you’d dry at the usual temp (70c) until they are fully dry. If and when you do it please comment with a photo of the dried frogs legs.